The Complete Guide to Jewelry Photo Editing from Shoot to Finish
Learn the full jewelry photo editing process, from taking great pictures to making simple edits that make them stand out.
JEWELRY
6/30/20254 min read
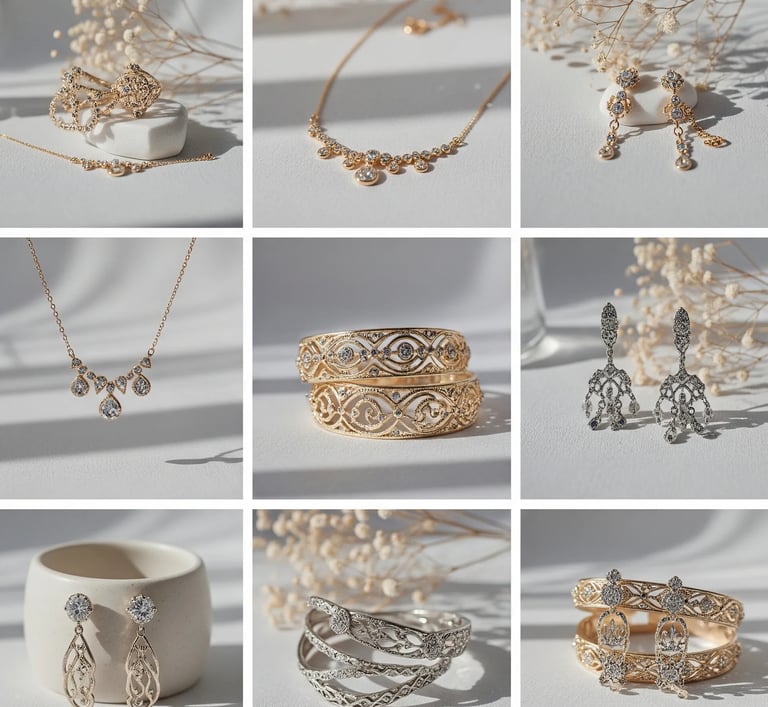
Taking good jewelry photos means more than just snapping a picture. It’s about showing the sparkle, shine, and little details that make each piece special. From the way light hits a diamond to the soft glow on a gold chain, every little touch matters. With the right setup, like good lighting and the perfect background, you can make your jewelry look stunning right from the start. And with the help of editing, you can take your images to the next level, making them look clean, clear, and professional. Whether you're a beginner or looking to improve, this guide will walk you through the whole process step-by-step.
You’ll learn everything from setting up your shoot to polishing your final photo. We'll show you how to use simple tools to highlight details, fix colors, and remove distractions so your jewelry stands out. You don’t need expensive gear; just a few tips and tricks can make a big difference. By the end of this guide, you’ll know how to turn ordinary shots into eye-catching images that shine. Let’s get started and bring out the best in your jewelry, from the first click to the final edit.
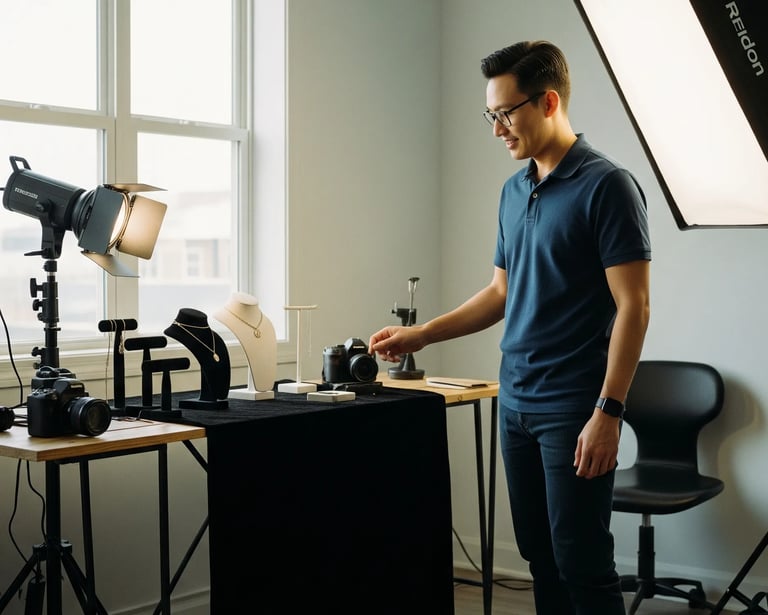
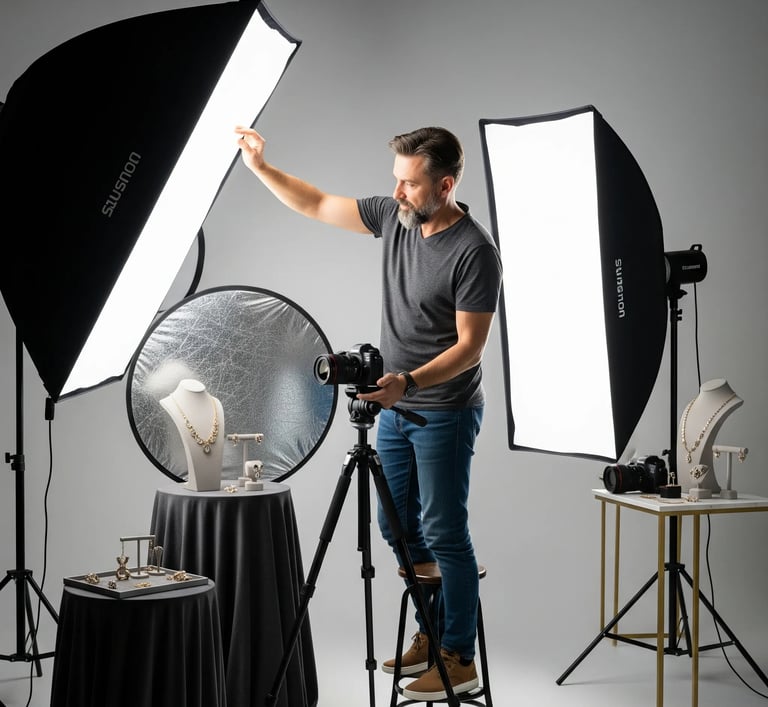
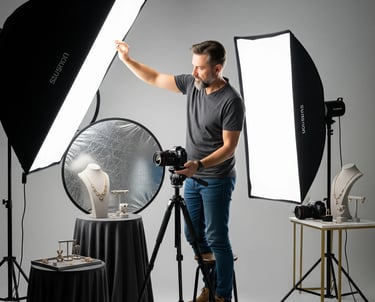
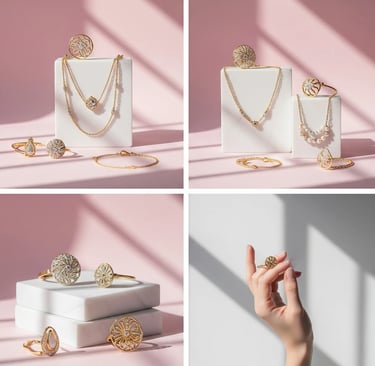
Setting up a good space for photography can make a big difference in how your photos turn out. Start with a clean background to keep the focus on the jewelry; white or black backdrops work well to highlight colors and shine. You can also try soft textures like wood or fabric to add style without being too busy. Lighting is super important too. Natural light gives a soft glow, but LED lights and softboxes are easier to control and can be used anytime.
To make your setup even better, add some simple tools like reflectors and diffusers. Reflectors bounce light onto your jewelry to brighten it up and reduce shadows. Diffusers help soften strong light, so you don’t get harsh reflections or glare. These tools help bring out the sparkle in gems and the shine in metal, making your photos look clean and professional. With a smart setup, even a small space can become your perfect jewelry photo studio
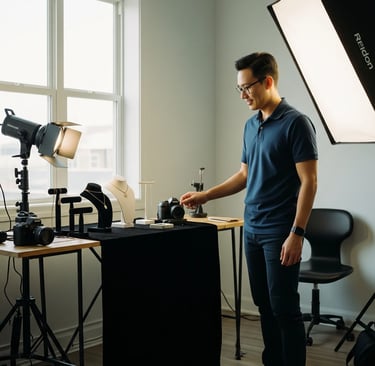
Setting Up Your Photography Studio
Techniques for Taking Attractive Jewelry Photos
Taking eye-catching jewelry photos is all about showing off the sparkle and fine details. A good way to do this is with macro photography. It helps you zoom in to see small details like textures, cuts, and tiny engravings. A macro lens lets you focus on these small features, making your jewelry look stunning and professional. Another great tool is a lightbox, which gives you a clean space with soft lighting that removes harsh shadows and helps your jewelry shine. Using a lightbox with diffused lights also makes colors pop and keeps the background neat and simple.
Getting the right angles also makes a big difference. Try different views to find what shows off each piece best. For example:
Shoot from above to highlight the shape and layout of the design
Use side angles to show depth and the shine of gemstones
Zoom in close to bring out fine details and textures
Use a tripod to keep the camera steady and your shots sharp

Importing and Organizing Your Photos
After taking your jewelry photos, the next important step is to import and organize them on your computer. Start by connecting your camera or memory card using a card reader, which usually works faster. Then, use photo programs like Adobe Lightroom, Capture One, or the apps on your computer to bring in your photos. These programs help keep your photos organized from the very beginning, making editing easier and faster.
Once your photos are on your computer, organizing them well is key to saving time later. Here are some easy tips to keep things neat and simple:
Create a new folder for each photo shoot.
Make subfolders inside for different jewelry types, dates, or styles.
Rename files with clear names that describe the jewelry or style.
This helps you find what you need fast and makes editing easier and more fun.


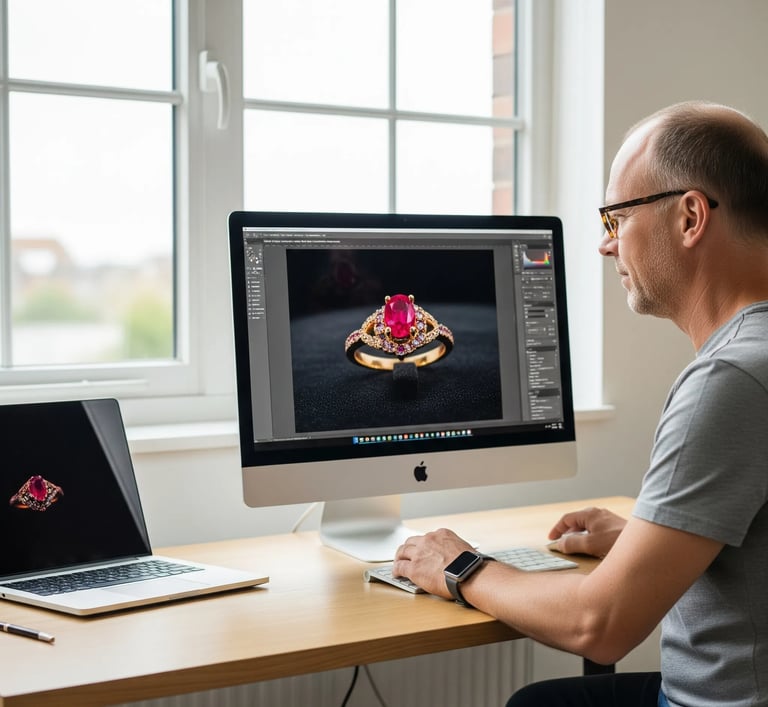
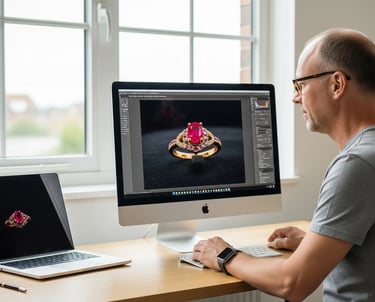
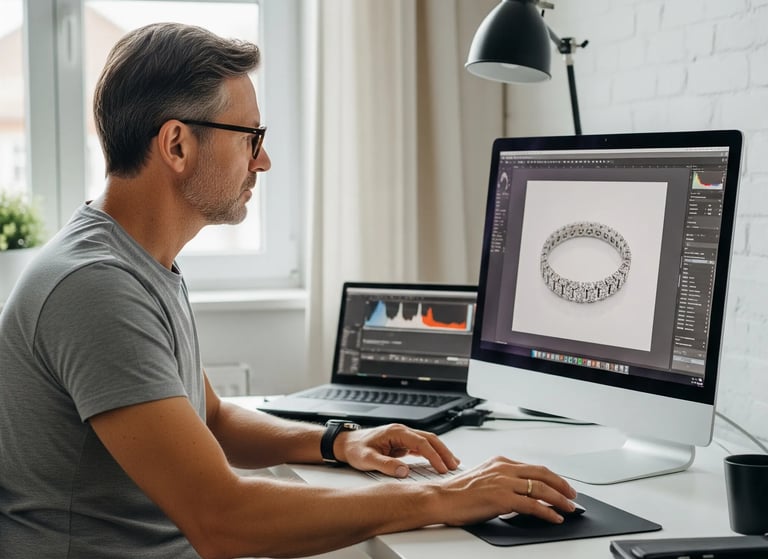
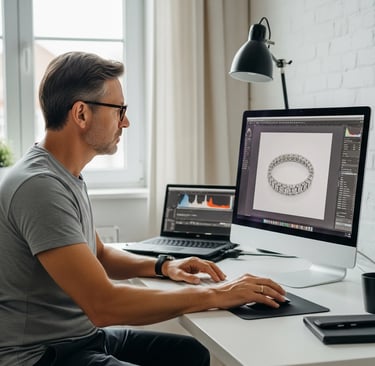
Editing jewelry photos takes careful attention to make each piece look its best. Start by choosing good editing software like Adobe Lightroom or Photoshop, which offer many tools to improve your images. First, crop the photo to remove distractions and focus on the jewelry. Then, adjust the brightness and contrast so the details, like gemstones and engravings, stand out clearly. These simple steps help your jewelry shine in the final image.
Next, color correction is very important to show the true colors of metals and gemstones. Sometimes photos don’t capture colors accurately, but editing tools let you fix this. Using color balance settings, you can make the jewelry look more natural and eye-catching. This helps attract more attention and makes your photos more professional. Remember, small edits can make a big difference in showing off the beauty of each piece.
The Jewelry Photo Editing Process
Jewelry photography may seem tricky at first, but with the right steps, anyone can do it. Setting up your space, using good lighting, taking clear photos, and making simple edits all help your jewelry look its best. You don’t need fancy tools, just a little patience and practice.
By following this guide, you can turn simple photos into great images that show every sparkle and shine. If you're selling your pieces or just sharing them online, great photos make a big difference. Keep practicing, keep learning, and soon you’ll have a collection of stunning jewelry photos that truly shine.
Follow
marketing@photostudioretoucher.com
+1 568-472-9510
Services
Sub Services We Offer